Painting continues at a glacial pace. The little city in the background is– for the most part– complete. Happy with results, though things could be tighter and color matching to the original is a real challenge. I should have included a color card along with the reference shots I took at the museum.
|
The picture seems to be done entirely in oils (though some passages or parts of the underpainting may contain tempera- but I don’t think so). Going into it I can predict that the most challenging parts will be maintaining consistency, matching colors and glaze combinations, and an accurate reading of the steps taken by the artist in painting certain parts (especially the fabric!). I was also encouraged to take on this exercise by a book by Eric Hebborn called “The Art Forger’s Handbook”. Of course, this is not a picture that I intend to pass off as the real thing… in fact I know it will not come close to a quality that is likely to deceive. But I hope that it will make a nice piece for the diningroom wall. If I pull this off I’ll even try to get it framed like the one it has in the museum. |
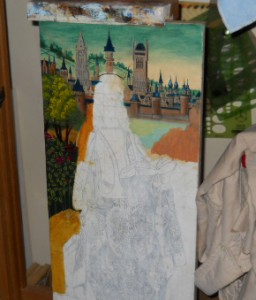
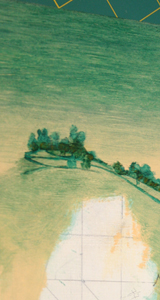 The sky colors were matched and painted in. Once that dried the city was traced directly on with pencil, later outlined with paint, and then slowly built up to completion. I believe this part is going to be one of the hardest with the exception of the fabric and the faces. It is apparent already that keeping up absolute precision and consistency it the key to this whole thing. Once I start getting tired it is time to stop because things start getting sloppy. The impulse to let a mistake go and fix it later has to be resisted!!
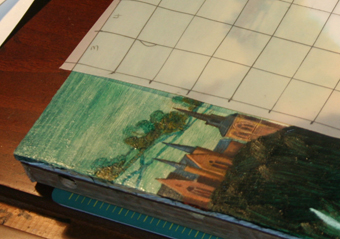
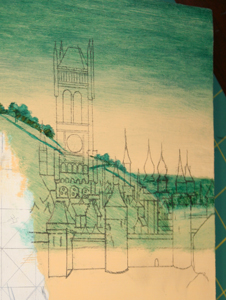
 I cut a 1/4″ masonite board to the dimensions of the model and cradled the panel from behind with standard oak bars. It was attached with regular pva wood glue. Once the panel was ready it was lightly sanded and sized with a coat of rabbit skin glue. On top of that came quite a few coats of gesso. Now it was ready to receive the drawing which was gridded and drawn in pencil. After locking in the graphite with a light mist of spray fixative, another couple coats of thin gesso were painted on to attenuate the lines.
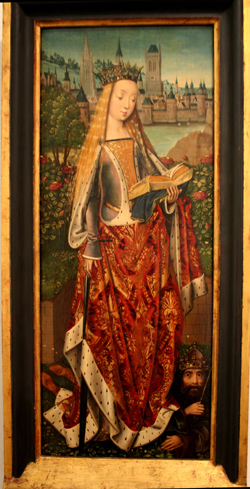 I ran across this picture at the Philadelphia Museum of Art a few months back and decided that it would be a fun challenge to copy as accurately as possible. The original (below) is by the Master of the Legend of St Lucy, painted around 1482 in Bruges. You can see the contemporary skyline in the background. Once I decided on the picture I wanted to copy I returned to the museum with a camera and lots of memory. I photographed every inch of the surface- probably around 150 shots- with regular and closeup lenses. Many of the effects used by the painter need to be figured out, so extreme closeups are very helpful.